1. Bag Opening
Physiologically mature cultivation bags (when the culture medium and plastic bag begin to separate and a yellow skin appears on the bag wall) are moved to the scratching room. Remove the lid and ring, and roll the bag opening outward and fold it over. After folding, keep the bag opening 3-5 cm above the surface of the culture medium.
2. Shelving
After opening and folding the bag, place the mushrooms on the cultivation racks in the fruiting warehouse, either mechanically or manually. Then, use a high-pressure spray gun to carefully spray the fruiting surface with water (scratching), ensuring that no water accumulates on the surface. This prevents excessive growth of aerial hyphae during the "re-spawning" period, which could hinder bud formation. Simultaneously, use an ultrasonic humidifier intermittently to maintain appropriate humidity.
3. Mycelial Recovery
After 4-5 days of mycelial expansion and recovery, moderately increase the humidity to prevent excessive growth of aerial hyphae, which could affect fruiting. It is recommended to maintain a temperature of 18-19┬░C, increase ventilation, and maintain a carbon dioxide concentration of around 0.2%. Pay attention to the dryness and wetness of the fruiting surface to avoid excessive dryness or wetness. During the late "return to fungus" phase, short periods of light can promote primordium formation and ensure smooth fruiting.
4. Bud Formation Stage
After the mycelium in the cultivation bag has been scratched, under suitable temperature, light, water, and air conditions, rice-grain-like tangles of mycelium begin to appear on the surface, signaling the onset of the bud formation stage. Increase the humidity in the space. Due to increased respiration in the bag, the carbon dioxide concentration in the space rises rapidly, necessitating increased ventilation, and even increased internal circulation in winter. Turn off the light after bud formation.
5. Bud Formation Stage
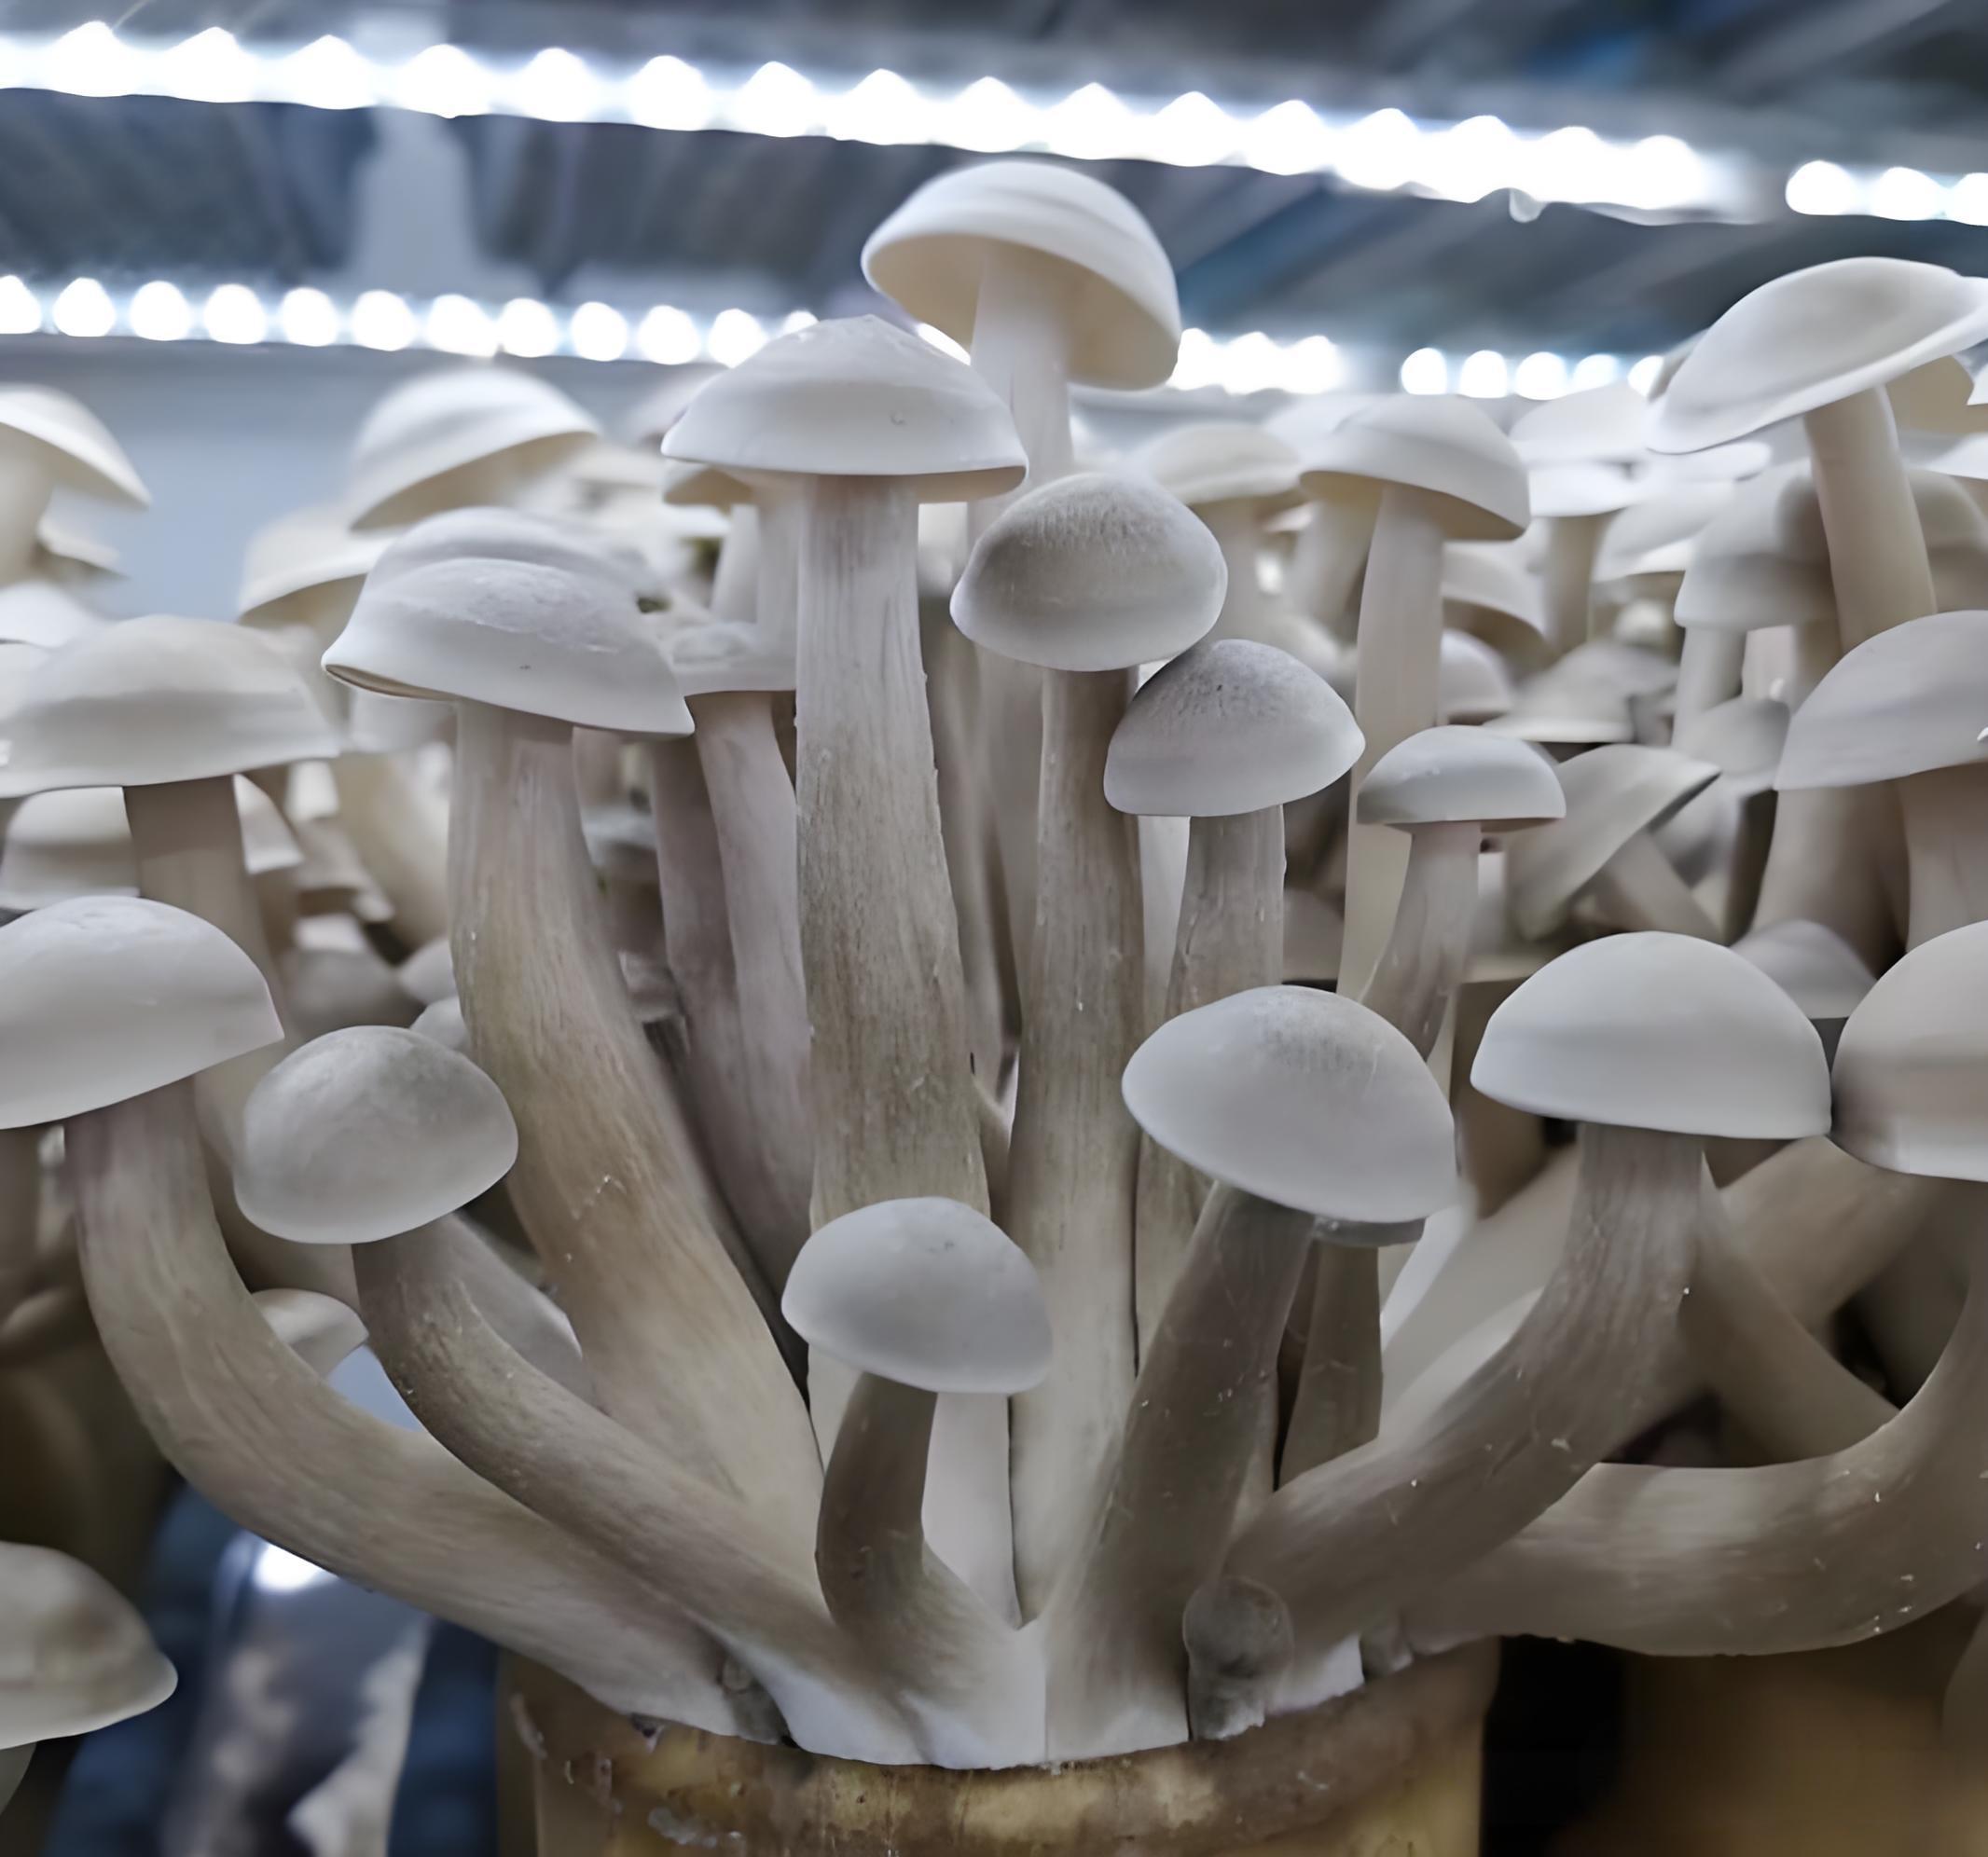
The pointed mushroom bud differentiates into a fruiting cap and a stem, known as a bud. After formation, the buds compete for oxygen and, although uneven, grow together toward the opening of the cultivation bag. At this time, lower the room temperature to 17-18┬░C and apply appropriate light for photoinhibition to prevent the finished mushrooms from being too thin and of poor quality. Methods of suppression include high carbon dioxide concentration, dry-wet suppression, and other methods. Through these combined controls, the number of mushroom buds at the bag outlet is regulated. Each bag requires only 40-50 buds to develop into medium-sized mushrooms; the remainder remain as weak, ineffective, pointed mushrooms under 5 cm in length. Detailed management during the bud formation stage is crucial, as it determines the yield and quality of the finished mushrooms, requiring particular attention. Adjustments should be made based on the warehouse's structure and configuration. Understanding the mushrooms' needs and growth trends, as well as developing a dialogue with them, requires both insight and experience. 6. Rapid Growth Period
After the mushroom buds emerge from the opening of the bag, they are inhibited by light and wind. This "shooting the first bird to stick out gets the most wind" effect, which inhibits the elongation of the stems. This allows all the mushroom buds in each bag to grow evenly, and the bag enters a rapid growth period, with noticeable daily changes.
7. Maturity Period
From the 25th to 29th day after opening the bag, the stems reach a height of over 15 cm. The moisture in the bag has mostly evaporated, and the nutrients within are largely depleted, indicating a tendency for the caps to open. As the caps gradually expand, the humidity in the space should be appropriately reduced and the light exposure time should be increased to ensure even growth. Later in the growth period, light exposure should be reduced and carbon dioxide levels should be increased, depending on the condition of the caps.


